![people element logooo.png]](https://20709424.hs-sites.com/hs-fs/hubfs/people%20element%20logooo.png?height=50&name=people%20element%20logooo.png)
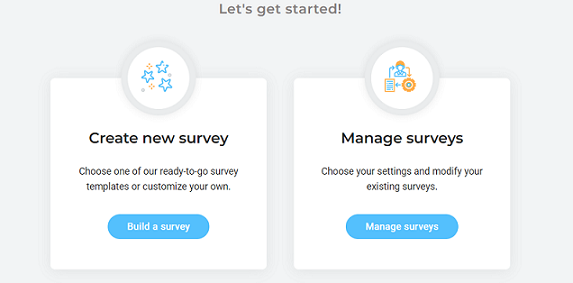
Build Your Survey
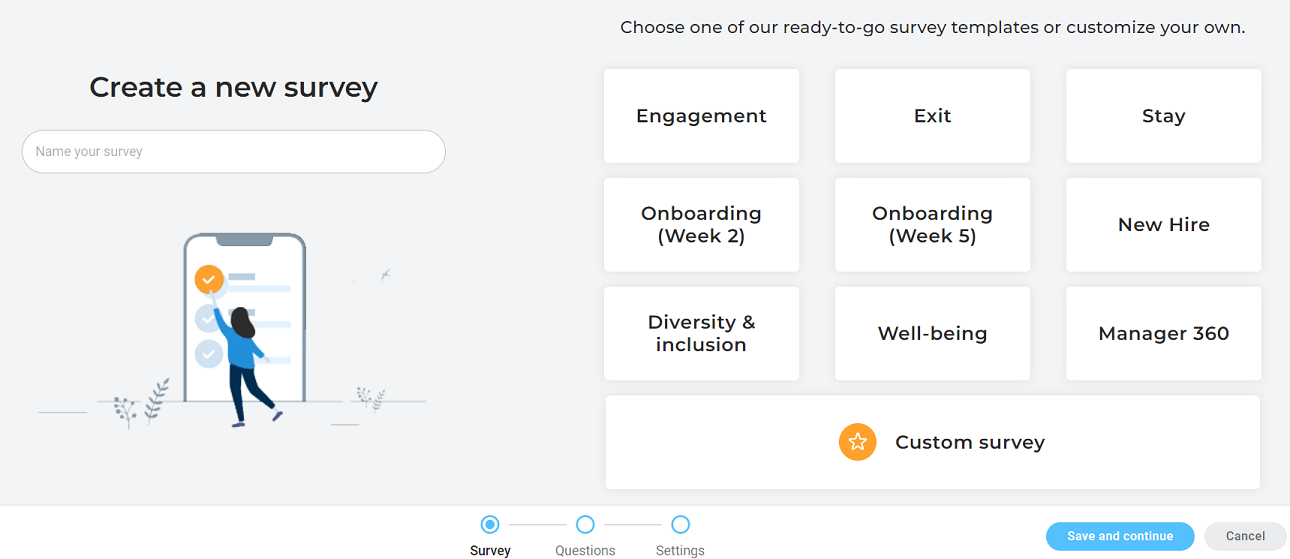
Begin by giving your survey a name and selecting a ready-to-go survey templates for the type of survey you want to run, or select custom survey to create your own. Click save and continue to move on to creating your survey questions.
It is important for only one user to be in the survey builder when creating/editing. Having multiple users in the same survey simultaneously can lead to issues with changes not being saved correctly.
Create Your Questions
People Element provides ready-to-go questions within the ready-to-go survey templates and the question library for you to use in your surveys. To maintain the integrity of the platform reporting (e.g. benchmark reporting), do not edit a question to the point that it changes the meaning of the question, and/or overwrite these questions with a custom question. Instead add your own custom question(s) as needed.
Question Library

Custom Questions

Question Options


Additional Survey Design Features


