![people element logooo.png]](https://20709424.hs-sites.com/hs-fs/hubfs/people%20element%20logooo.png?height=50&name=people%20element%20logooo.png)
Settings
There are five settings to update before launching your survey.
Set up
The set up section is where you will define your survey start and end dates. Use the calendar icons to select your start and end dates. The survey status will automatically update based on the dates selected and will open on the selected start date.

Assign Participants

Response Options

-
Lock responses allows you to choose whether to allow participants to return to their survey after they have submitted it to view and/or edit their responses. By default, this option is turned off. If you prefer participants complete the survey in one sitting and not have the ability to return to it to add or edit their feedback, then you must click on the toggle button to turn it on.
-
Minimum data threshold allows you the option to apply different data thresholds for your rater groups. Self and supervisor rater groups will always display data at a threshold of 1. All other rater groups will display data at the set minimum data threshold.
-
If you are running the survey in multiple languages, display comments in native language for reports allows you to decide if the comments are viewable in reports in English or the language they were entered. Defaulted to off, all comments will be reported in English. You may toggle this option on which would then report all responses in the language they were entered.
Schedule and edit your survey email invitations and reminders and set up action coach emails to be sent to your survey subjects.

Survey invitations and reminders are sent to subjects and raters via email. Emails will stop sending if the subject or rater has completed all surveys assigned to them or when the survey has closed. You will select when those emails are sent by selecting a day of the week or custom dates.
It is recommended to set up custom dates with the first email sent on the survey start date and the final email sent the day before the survey end date.
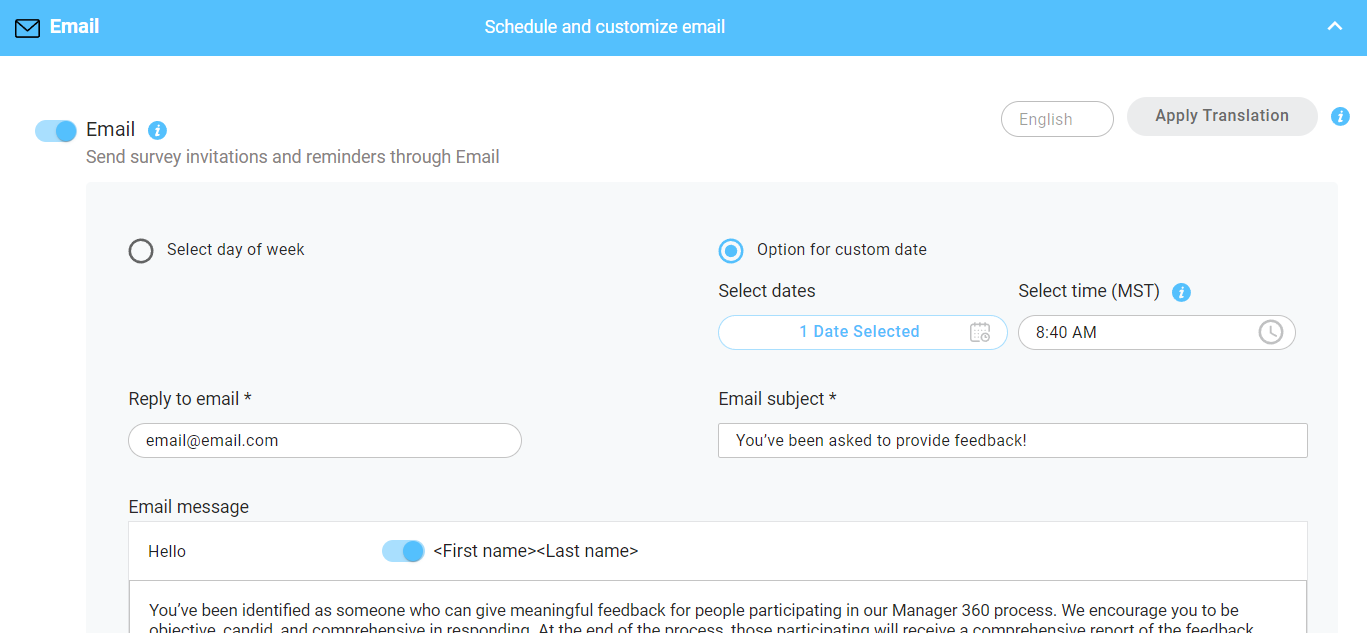
Enter an email address in the reply to email section for the person you want to receive any replays that may come from the survey invitations. Make sure the email entered is for someone who is knowledgeable about the survey and can answer any questions.
If you don’t want your participants name to display in the email message, you have the option to toggle this off (grey) next to first name last name of the email message. This will default to toggled on (blue).
Only click send email now if you intend to send survey invitations now. This will send a notification now in addition to those already scheduled.
Action Coach
Schedule action coach emails to be sent to all survey subjects on selected dates. These emails are filled with tips, best practices, and resources for your managers (survey subjects). For more details on each action coach email, review this article.
The order the action coach emails are listed in the dropdown menus is the order we suggest you send them in. These should be sent to subjects after the survey end date. If you only choose to send one action coach email, make sure to send the subject PDF report.

Survey Messaging
The survey messaging section allows you to add/modify additional communications throughout your survey.

Survey descriptions will appear across the survey for subjects and raters.
Customize your own welcome and thank you messages that subjects and raters will see upon starting and completing their surveys. If you don’t wish to display participants names, you can toggle this off (grey) by first name last name in the header. Otherwise, it will default to toggled on (blue).
Once you have finished customizing your survey settings, click save to ensure all changes are saved before you leave the page.